Sushi Rolling & Sashimi Vs. Nigiri at Benihana
September 18, 2019
This post is sponsored by Benihana. All opinions are my own.
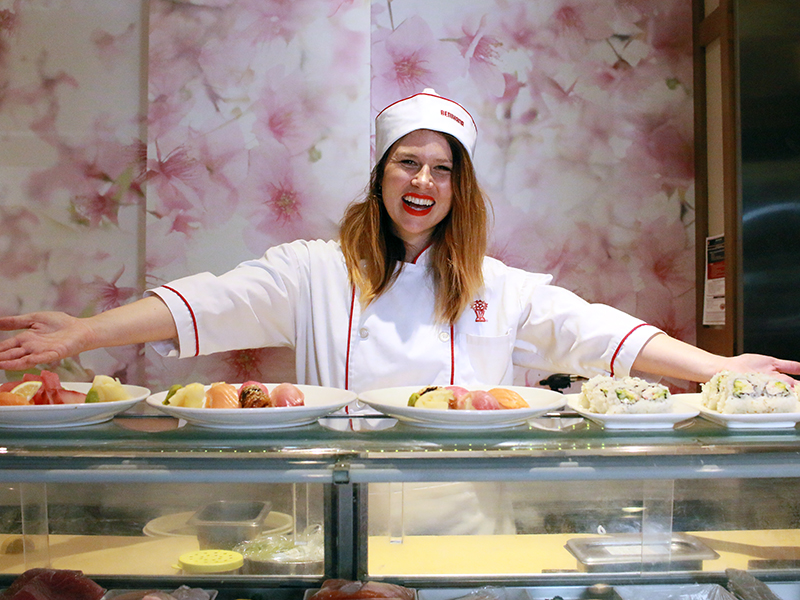
When I got invited back into my local Benihana in Santa Anita to learn about making sushi rolls and the difference between sashimi and nigiri from one of their seasoned professional sushi chefs (Andy), I was obviously beyond excited! I also felt honored, as I know that chefs in training have to put in numerous hours before being able to even attempt to cut a beautiful piece of fish into sashimi or nigiri, and I was going to get to after less than an hour of getting acquainted with the sushi bar.
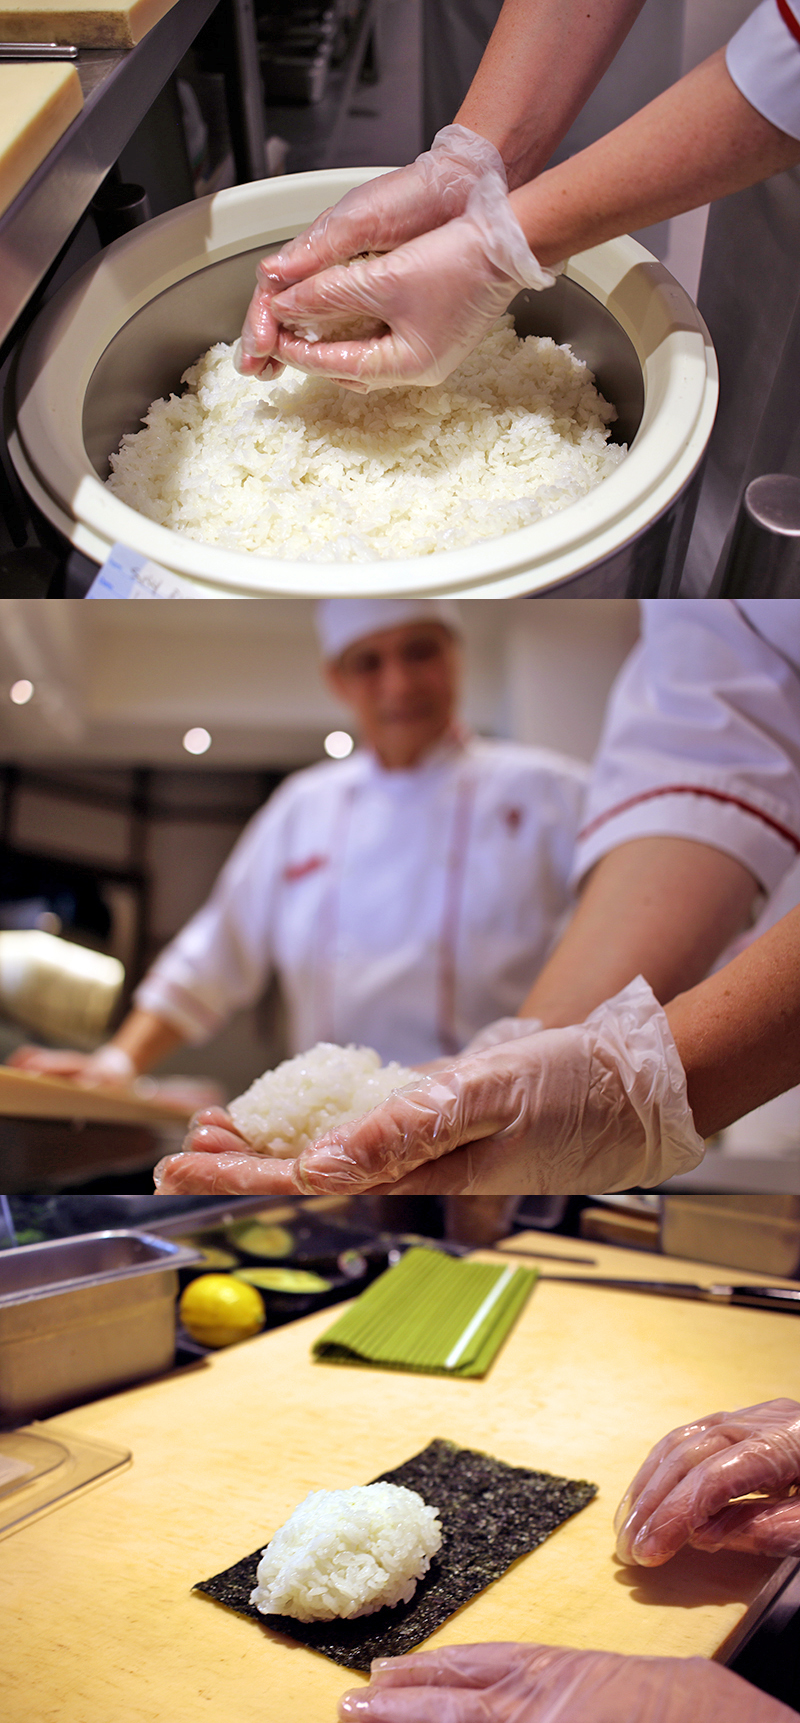
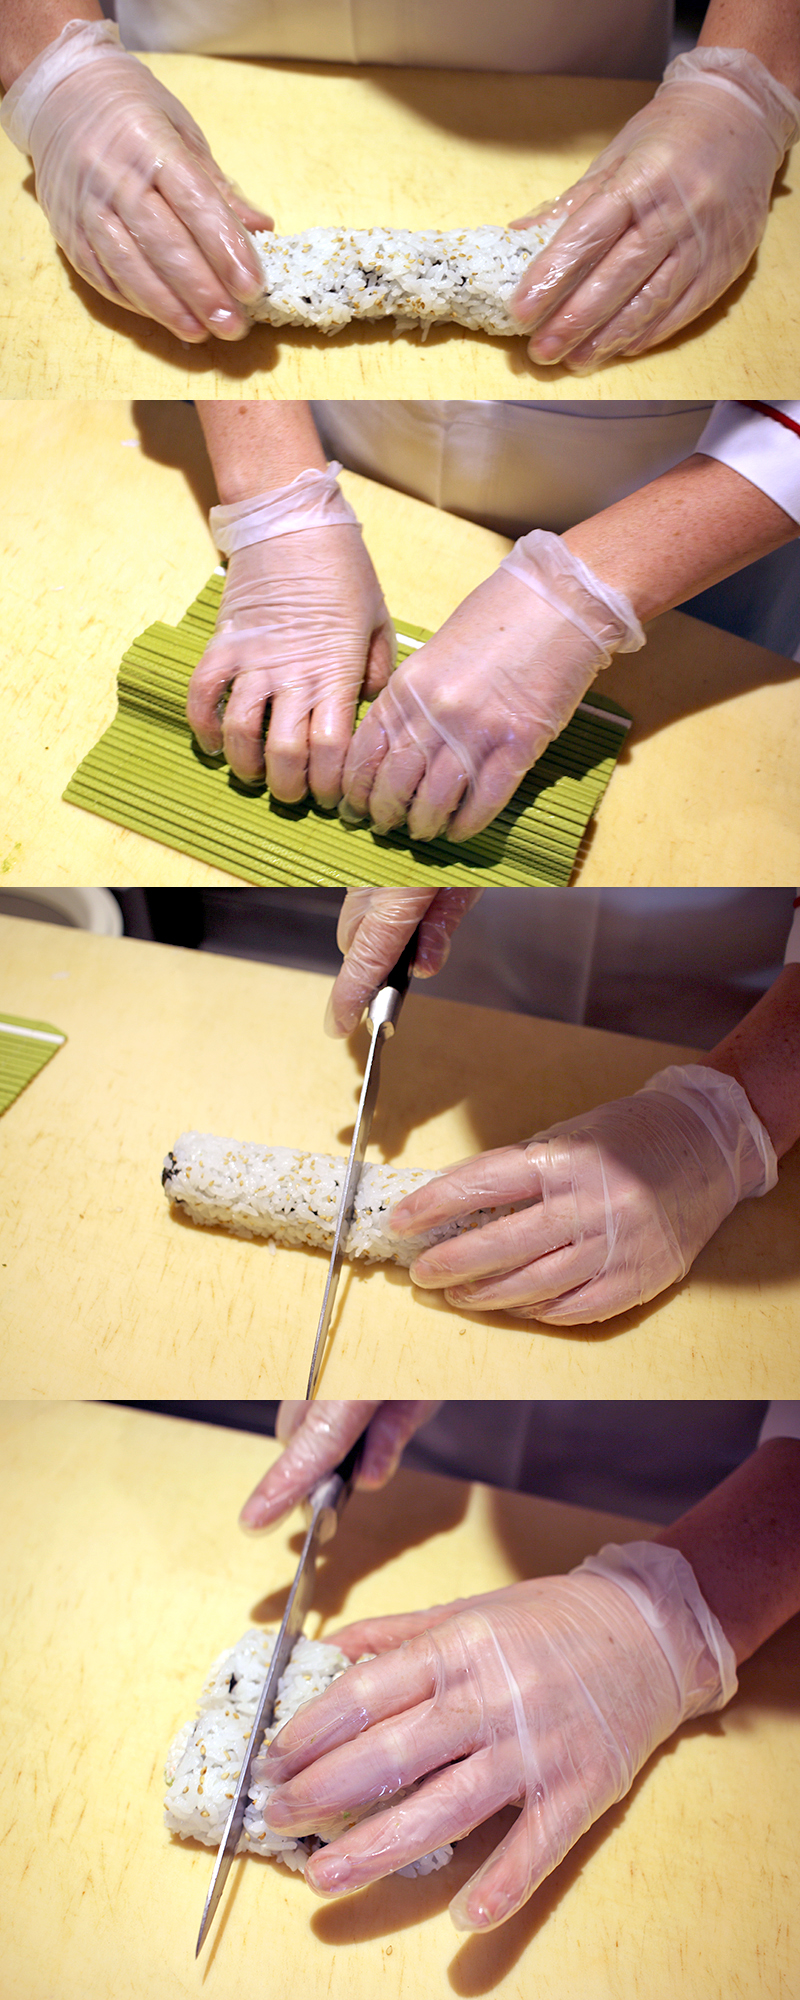
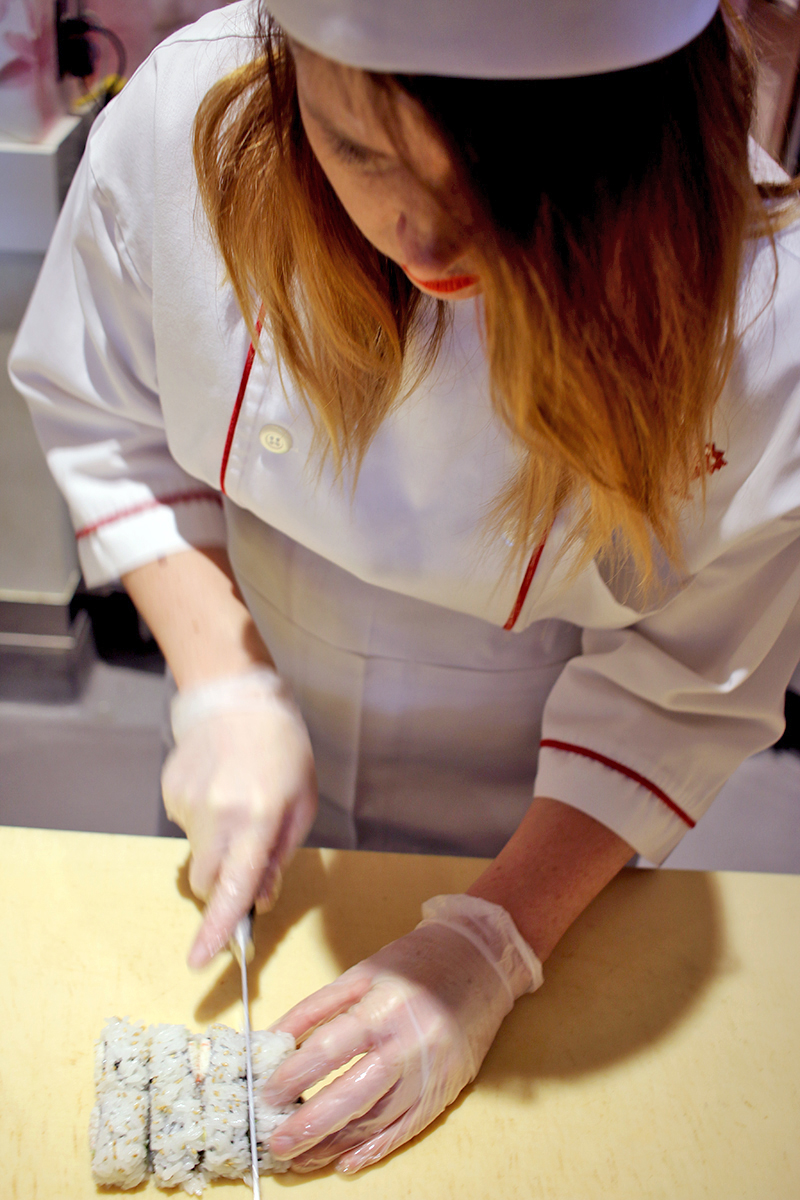
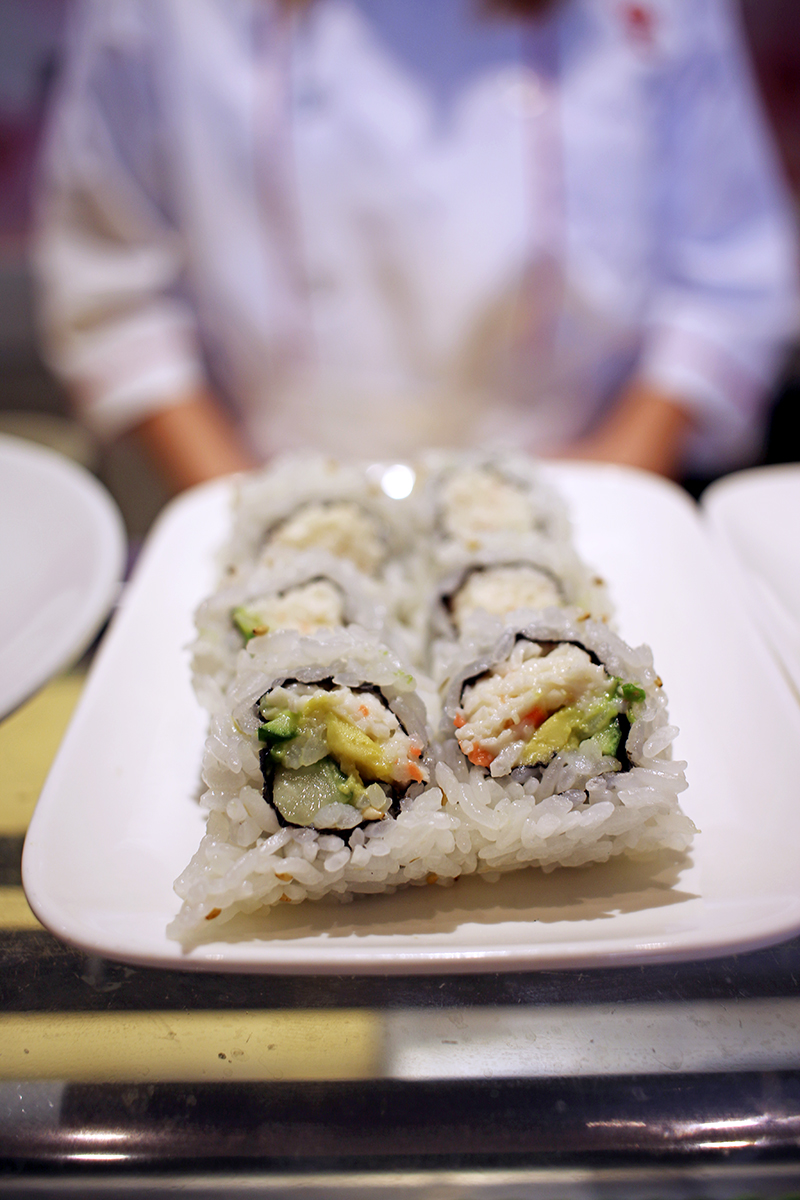
First up – seaweed paper, sushi rice, sesame seeds, krab, avocado, and cucumber – the California Roll.
Fun fact: the California Roll was first served in the 1960s at a restaurant in Los Angeles.
Pro Tip: all of these steps should be done from left to right

Next up! Ever looked at the menu at the sushi restaurant and wondered what the difference between sashimi and nigiri is, even after you know you’ve asked and / or looked it up half a dozen times? I learned the difference and how to cut and assemble both.
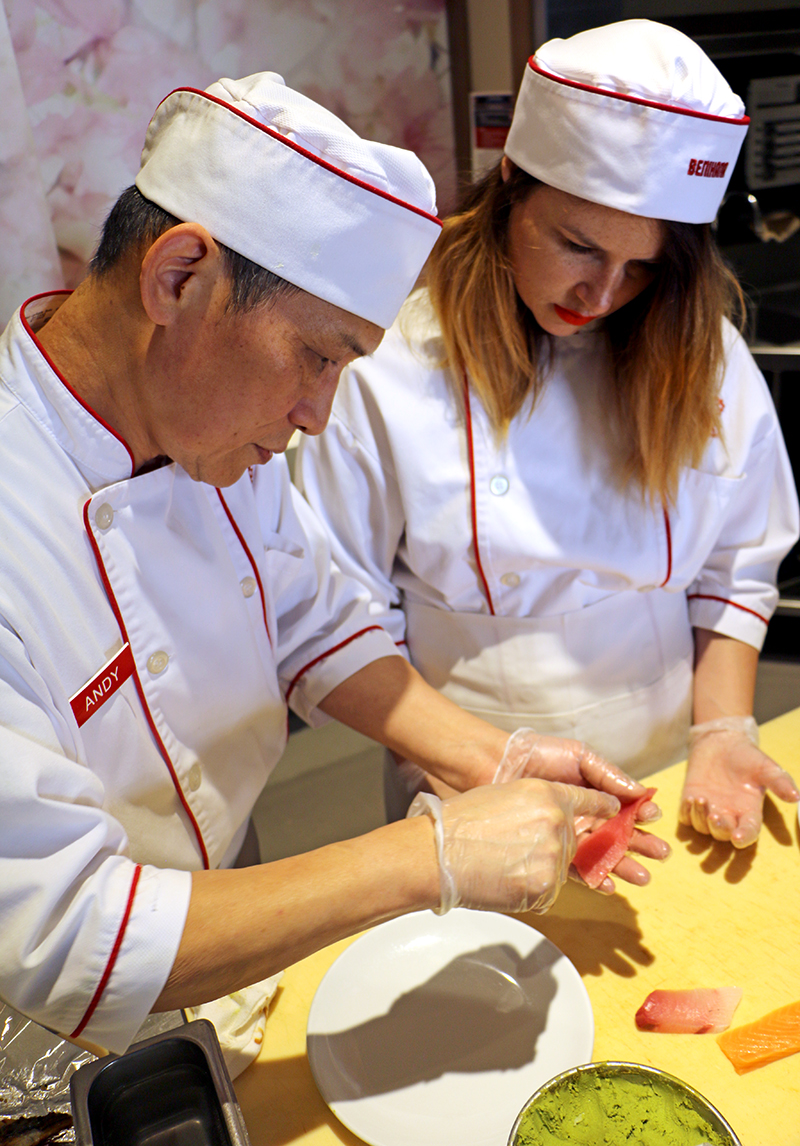
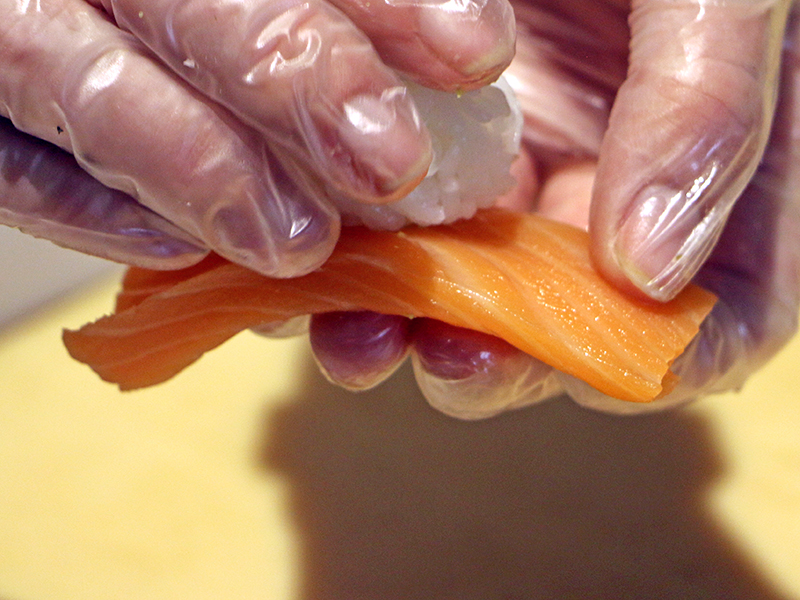

I honestly can’t easily put into words the beautifully precise way Andy taught me how to slice the fish. But I can tell you the difference between sashimi and nigiri and the simple assembly steps for both. Sashimi is a fresh slice of raw fish, and nigiri is a fresh slice of raw fish, atop a ball of sushi rice. I decided that the best way to remember is to think about Sashimi being solo (sans rice).
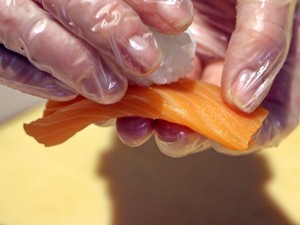
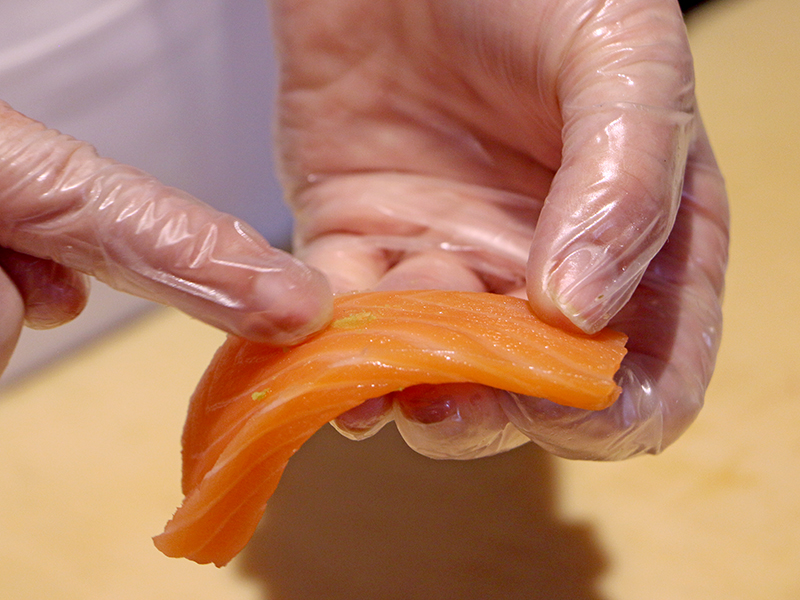
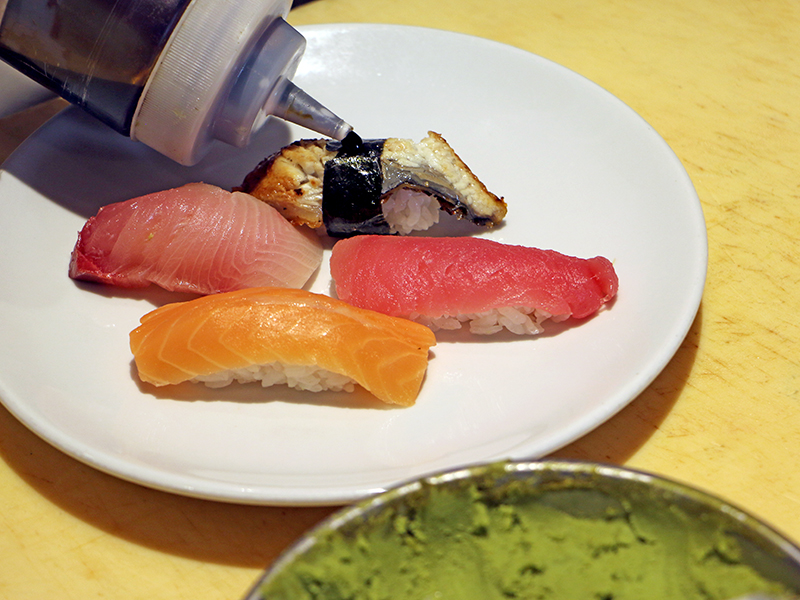
Firstly, start off by slicing the fish meticulously (the video shows a bit of technique). Then swipe a tiny bit of wasabi on the back of it, where the ball of sushi rice will be placed. Form a small ball of sushi rice where the fish slice will be placed. I definitely did not master Andy’s technique of placing the fish onto the ball of rice. It sounds simple enough, huh? It sure is not; he wraps the fish so perfectly around the rice in a way that was difficult to master in just a few tries! I am going to have to practice this one at home! I sliced salmon, yellowtail and tuna which all were prepared as I explained above. The eel is the only one that doesn’t get wasabi and received a little band of seaweed (nori) around it and the rice, topped off with eel sauce. My favorite! Both the sashimi and nigiri plates are finished off with a mountain of ginger and wasabi. Andy told me that the art of making sushi is based on creating rivers and mountains, so that you will notice these shapes. You create the mountains with the ginger and wasabi alongside the beautiful cuts of fish.
I ended up asking Andy about his background. He moved here from Japan and has been practicing sushi for about 19 years. He shared with me that he had suffered a stroke a few years back that changed his life for the better, as he begun to care more about his health and lifestyle. I honestly would never have known. It was beautiful how passionate he is about his creations and how he was able to get through a roadblock and improve his life after a difficult event.
At the end of Andy’s lessons, I asked him what his tips are for people just getting into making sushi!
He said, “Watching, asking, doing.” And to be gentle and take your time. I think a lot of us could use that advice in our everyday life while learning new skills and approaching tasks. Hey, I think it could even be applied to our personal lives and relationships. Who knew that I would go to Benihana to learn about sushi and come out with a life lesson!